
Last updated October 30, 2026
 Home additions & ADU
 Kitchen remodeling
 Bathroom remodeling
 Roofing
 Windows & doors
 Driveway & pavers
 Fence
Free written scope consultation - allowances, timeline, and change-order rules on paper before a single trade is scheduled
General Contractor Maintenance Checklist for South San Francisco Homeowners
The number-one hidden cost in South San Francisco home ownership isn’t the mortgage, it’s deferred maintenance on post-war construction that was never designed to last this long in a salt-air environment. Most homes in South San Francisco were built between 1940 and 1970, which means the framing, flashing, stucco, and sub-floor assemblies are now 55 to 85 years old and operating well past their original design assumptions. A generic national home maintenance checklist won’t help you here because it doesn’t account for the specific deterioration patterns caused by marine air, seismic movement, and the clay and fill soils common in lower SSF elevations. This guide is written from the perspective of a team offering General Contractor services in South San Francisco, and it covers what actually fails, what to check, when to check it, and what a trained eye sees that a trade-specific vendor can’t.
Styles & brands we work with
Quick Answer
A South San Francisco home maintenance checklist should be organized around four local conditions: salt-air corrosion on exposed metal, moisture intrusion through aging stucco and caulking, seismic hardware integrity, and sub-floor moisture in homes built on Bay-adjacent fill. The most important seasonal checks are exterior caulking and sealant replacement, gutter and flashing inspection for corrosion, crawl space moisture monitoring, and an annual seismic hardware verification covering cripple wall bracing, water heater strapping, and chimney condition. Most of these items cost under $500 to address when caught early and over $8,000 when deferred.
Table of Contents
- Fog and Salt-Air Corrosion: The SSF-Specific Timeline
- Stucco Caulking and Sealant Replacement Cycles
- Crawl Space and Sub-Floor Moisture Protocols
- Annual Seismic Hardware Checks
- Roofing, Flashing, and Gutter Corrosion
- Window, Door, and Exterior Trim Maintenance
- What a General Contractor Sees That Specialty Vendors Miss
- Common Mistakes to Avoid
- When to Call a Professional
- Frequently Asked Questions
- The Bottom Line
Fog and Salt-Air Corrosion: The SSF-Specific Timeline
South San Francisco sits in a marine-influenced microclimate where morning fog carries salt particles inland from the Pacific. When that fog condenses on metal surfaces and then evaporates, it leaves behind a chloride residue that accelerates oxidation. This is not a slow, cosmetic process. In our experience walking South San Francisco properties, we see galvanized steel flashing on west-facing elevations showing visible rust within 12 to 18 months of installation, and we see untreated exterior fasteners failing within five to seven years.
The city’s coastal exposure rating means that standard galvanized hardware used in inland Bay Area cities like Concord or Livermore simply doesn’t hold up the same way here. What works in SSF is a specific progression: stainless steel fasteners and connectors on anything exposed, powder-coated or anodized aluminum for gutters and downspouts, and marine-grade caulking rated for salt environments.
Corrosion Checkpoints to Walk Every Spring and Fall
- Exterior electrical and plumbing penetrations: Look for rust weeping from conduit straps, hose bib flanges, and meter boxes. If the screw heads have rust blooms, the screws are actively corroding and need replacement before the surrounding material fails.
- Fence hardware and gate hinges: Salt air attacks gate hinges and post anchors before the wood or vinyl shows any wear. Test gate movement and look for orange staining at bolt heads.
- Deck and stair fasteners: On any exposed deck surface, check ledger board connections and stair stringer brackets. In SSF, these are often the first structural connections to reach end of life.
- Roof penetration flashings: Pipe boots, vent collars, and chimney flashings all collect salt residue. Rubber boots dry and crack faster in marine air than in inland climates.
- HVAC condenser fins and coils: If your condenser sits outdoors year-round, salt air corrodes the aluminum fins and reduces system efficiency. Rinse the unit quarterly and inspect for pitting annually.
For homeowners planning a larger renovation, this is the moment to think about material selection. When we specify exterior hardware on a home renovation in South San Francisco, we’re choosing fasteners and flashings for a 30-year marine-air service life, not a five-year inland assumption. That means brands like Boral for trim and siding profiles that resist moisture-driven rot, or PGT and CGI for impact-rated windows and doors designed for coastal exposure. The product choice matters because a South San Francisco home has a corrosion timeline, and most off-the-shelf hardware isn’t built for it.
Stucco Caulking and Sealant Replacement Cycles
Stucco is the dominant exterior finish in South San Francisco, and it’s also the finish most likely to hide water damage until the problem is structural. Stucco itself is not waterproof. It’s a porous cementitious shell that relies on a drainage plane behind it and sealant at every penetration, joint, and transition. When the sealant fails, water gets behind the stucco and sits against the framing, which is how a small crack becomes a $20,000 shear wall repair.
The replacement cycle we recommend for South San Francisco specifically is shorter than what national guides suggest. In a dry inland climate, exterior caulking can last eight to ten years. In SSF’s fog-and-sun cycle, where surfaces expand and contract daily and salt residue degrades polymer bonds, we recommend inspecting every spring and planning for full replacement every three to five years depending on exposure. West- and north-facing walls degrade faster because they hold morning fog longer.
Sealant Inspection Checklist
- Window perimeters: Check for cracking, pulling away from the stucco, or caulking that has turned hard and chalky. Press gently with a fingertip; if it doesn’t flex, it’s past its working life.
- Control joints and expansion joints: These are the vertical grooves cut into stucco walls. Sealant here must remain elastic. Failed sealant in control joints is the leading cause of hidden moisture damage we find on SSF walkthroughs.
- Pipe and vent penetrations: Every hose bib, electrical conduit, dryer vent, and exhaust vent that passes through stucco needs a continuous, flexible seal. These are small, cheap, and almost universally neglected.
- Door thresholds and sill pans: Water pools at entry thresholds in SSF’s winter rain pattern. The sealant at the bottom of the door frame and under the threshold is your first and last line of defense.
- Chimney and roofline transitions: Where stucco meets roofing or chimney brick, the transition needs a two-part flashing and sealant system. This is also a prime location for salt-driven corrosion of the metal flashing behind the sealant bead.
One thing worth being direct about: this is not a job that most homeowners should do themselves as a quick weekend caulk-and-paint fix. The sealant bead has to be cut out fully, the joint cleaned and primed, and the new sealant tooled correctly to bond to both surfaces. A badly applied bead over old caulking looks fine for a season and then fails completely. That’s why this item appears on our maintenance checklist as a professional inspection point rather than a homeowner DIY task.
Crawl Space and Sub-Floor Moisture Protocols
Lower-elevation neighborhoods in South San Francisco, including much of the area east of El Camino Real, sit on Bay-adjacent fill and clay soils that hold water differently than the hillside homes to the west. In a wet winter, the water table in these areas can rise enough that crawl spaces that were dry in September are damp in February. A crawl space that stays damp for consecutive months creates conditions for wood rot in floor joists, corrosion in ductwork and strapping, and mold that migrates up into the living space.
This is one of the maintenance items specific to South San Francisco that generic national checklists miss entirely. A homeowner in Phoenix doesn’t have a crawl space moisture problem. A homeowner in SSF on fill soil very well might, and it’s invisible until the floor starts to sag or the smell starts to rise.
Crawl Space Inspection Protocol for SSF Homes
- Access the crawl space at the driest point in the year: Sometime between July and September. This establishes your baseline. If there’s standing water or saturated soil in August, you have a drainage or groundwater problem, not just a rain problem.
- Check for water staining on foundation walls and piers: Look for a visible high-water line on the concrete or masonry. If the staining is more than an inch above the soil level, water is pooling against the foundation during wet months.
- Inspect the vapor barrier: In SSF, a 6-mil or thicker polyethylene vapor barrier should cover the entire crawl space floor and run up the foundation walls a minimum of six inches. Tears, gaps, or missing sections compromise the entire system.
- Test wood moisture content in floor joists and sub-floor: A moisture meter reading above 16% in dimensional lumber indicates elevated moisture. Above 20% is the threshold where fungal decay begins. This is a five-minute check with a $40 tool.
- Check ductwork and insulation for sagging or water staining: Flex ducts that have absorbed moisture lose their insulating value and can collapse. Wet insulation on the sub-floor underside loses R-value and holds moisture against the wood.
- Verify all crawl space vents are operational: South San Francisco’s building stock from the 1940s through 1960s relies on passive venting. Make sure screens are intact, vents aren’t blocked by landscaping or storage, and airflow is actually moving through.
If you find standing water, saturated soil, or wood moisture readings above 20%, that’s the point where a homeowner should bring in a contractor who understands the full drainage picture: roof runoff, surface grading, foundation drains, and sub-floor ventilation all interact. A plumber can fix a leaking pipe. A roofer can channel roof runoff. But the homeowner is the one left coordinating whether the fix actually solved the crawl space condition. That’s the coordination problem a general contractor removes by looking at the entire system at once, as we explain in our General Contractor Troubleshooting: Common Problems and How to Fix Them.
Annual Seismic Hardware Checks
Seismic retrofitting in South San Francisco is usually framed as a one-time project: brace the cripple walls, bolt the sill plate, strap the water heater, and you’re done. But the hardware that protects your home in an earthquake is subject to the same corrosion, vibration, and material fatigue as everything else on the property. A retrofit done in 2005 may have hardware that’s now 20 years old, partially corroded from crawl space humidity or salt air, and loose from two decades of minor seismic settling.
The annual seismic hardware check belongs on every SSF homeowner’s calendar. It’s a maintenance item, not a one-time retrofit item, and it takes about 45 minutes if you know what you’re looking at.
What to Check Every Year
- Water heater strapping: California plumbing code requires two straps on the upper and lower thirds of the tank. Check that the straps are tight against the tank, the lag screws are seated in the wall framing, and there’s no visible rust at the screw heads. In SSF crawl space and garage environments, corrosion on these straps is common.
- Cripple wall bracing: If your home has a crawl space with a cripple wall (the short wood-framed wall between foundation and first floor), check that the plywood or OSB shear panels are still fully nailed along all edges and that the nails haven’t pulled loose. Also look for signs of past termite or rot damage that could compromise the panel.
- Sill plate anchor bolts: These bolts connect the wood sill plate to the concrete foundation. Look for visible rust at the nut and washer, and check whether the wood around any bolt has crushed or split. If a bolt is loose enough to turn by hand, it’s not doing its job.
- Chimney condition: Unreinforced masonry chimneys are a known hazard in earthquakes, and in SSF, they’re also exposed to marine air that corrodes the mortar joints. Look for cracking, spalling brick, or gaps between the chimney and the house framing. A chimney that has separated from the structure is a seismic hazard and also a water intrusion point.
- Foundation cracks: Monitor existing cracks in the foundation and stem walls. A simple method: mark the end of each crack with a pencil line and date. If the crack extends past the mark in six months, there’s ongoing movement that needs evaluation.
If you bought a home with a retrofit already in place, don’t assume the hardware is still intact. We’ve walked South San Francisco properties where retrofit bolts from the 1990s were so corroded they sheared off during removal. The hardware matters, and it needs an annual look.
Roofing, Flashing, and Gutter Corrosion
Roof maintenance in South San Francisco is less about the shingles than it is about the flashings and gutters. The shingle itself is designed to shed water. The flashing is designed to keep water out of the transitions: valleys, chimneys, vent pipes, skylights, walls that intersect with the roof deck. In SSF’s marine air, flashings fail before shingles, and the failure mode is corrosion rather than impact damage.
We recommend a roof and gutter walk every fall before the rainy season begins, and a second visual check from the ground after major winter storms. Homeowners in South San Francisco should look for specific patterns: rust staining running down from chimney flashing, pinholes in galvanized valley metal, and gutters that have pulled away from the fascia or are sagging at the hangers.
Gutter and Flashing Maintenance Steps
- Clean gutters and downspouts before the first heavy rain. In SSF, the leaf and debris load is dominated by eucalyptus, pine, and acacia from neighboring hillsides. Clogged gutters overflow, and in a marine-air environment, that overflow accelerates corrosion on fascia boards and soffits that never dry out.
- Inspect all roof-to-wall flashing for rust and separation. Step flashing at sidewalls and counterflashing at chimneys are the two most common failure points we see on SSF roofs. If the flashing has visible rust or the sealant joint has opened, water is getting behind the roof assembly.
- Check pipe boots and vent collars for cracking. Rubber boots on plumbing vents and exhaust pipes dry out faster in salt air. A cracked boot can leak for months before water shows up inside the house.
- Look at gutter hangers and downspout brackets. These are typically galvanized steel or zinc-coated, and in SSF they’re among the first items to rust through. A gutter that’s pulling away from the fascia is a sign the hangers are failing.
- Consider material replacement, not just cleaning. If your gutters are original galvanized steel from a 1950s or 1960s SSF home, they’re at the end of their design life. Replacement with aluminum or powder-coated steel is a decision worth making before the gutters fail during a winter storm.
If you’re already planning a larger exterior project, this is where the roofing decision matters. Millwright Builders sources roofing materials from GAF, CertainTeed, Owens Corning, and IKO, which gives South San Francisco homeowners access to the most warranty-backed asphalt shingle lines on the market. But the shingle choice matters less than the flashing detail. A premium shingle installed with corroded or poorly detailed flashing is a leak waiting to happen. We specify the brand, explain the trade-off, and stand behind the install.
Window, Door, and Exterior Trim Maintenance
Windows and doors in South San Francisco are doing double duty: they’re managing water intrusion from wind-driven rain, and they’re acting as the weak point where marine air, temperature swings, and sealing failures combine. A window that operates fine in summer can leak in a January storm if the perimeter sealant has failed and the flashing behind the stucco has corroded.
Exterior wood trim on SSF homes, particularly on the 1940s through 1960s housing stock, is often original and approaching the end of its service life. Where trim has been painted over for decades, the paint itself becomes the moisture barrier, and once the paint film cracks, the underlying wood begins to rot. In marine air, that rot progresses faster than in drier Bay Area cities.
Maintenance Points for Windows, Doors, and Trim
- Operate every window twice a year. Open, close, lock, and unlock each window in spring and fall. Stiff operation, sticking, or failed locks are early indicators of frame movement, moisture swelling, or worn hardware.
- Check glazing putty on older single-pane windows. Dried or missing putty allows water to sit against the glass and frame. Many SSF homes still have original single-pane sash windows, and glazing putty in marine air typically lasts eight to ten years before it needs attention.
- Inspect door thresholds and weatherstripping. Test every exterior door with a flashlight from the outside at night. If light passes under or around the door, water and air are also passing through. Threshold seal failure is a common source of sub-floor damage at entry points.
- Examine wood trim at the base of exterior walls. Pay attention to trim boards that sit close to grade. In SSF, these boards catch splashback from rain, irrigation overspray, and morning dew, and they rot from the bottom up.
- Look for peeling or cracking paint on any east-facing wood surface. East-facing walls in SSF get morning sun right after the fog burns off, which creates a rapid heating cycle that stresses paint films faster than west-facing walls.
When original windows and doors on a South San Francisco home reach end of life, the replacement decision should factor in marine-air exposure. We work with PGT, Therma-Tru, and ECO Window Systems because their product lines are tested for coastal conditions that include salt spray and high wind. CGI impact-rated windows are also available for homeowners who want the strongest protection against both storm debris and salt-air degradation. The right product choice extends the maintenance cycle by a decade or more.
What a General Contractor Sees That Specialty Vendors Miss
A roofer looks at the roof. A plumber looks at the pipes. An electrician checks the panel. Each of them is good at what they do, but none of them is responsible for how the systems interact. This is the structural limitation of trade-specific maintenance walkthroughs, and it’s why a general contractor walkthrough catches problems that individual vendors structurally cannot see.
The classic South San Francisco example is water intrusion. A roofer will find a flashing leak and fix it. A stucco contractor will find a failed sealant joint and re-caulk it. A crawl space contractor will find moisture and install a vapor barrier. But if the actual problem is that roof runoff from a clogged gutter is overflowing against the stucco wall, saturating the shear panel, and draining down into the crawl space, each individual fix addresses a symptom without addressing the path the water is actually taking.
A general contractor walkthrough starts with the water path and works backward from there. We trace where water lands on the roof, how it’s channeled, where it meets the walls, and how it drains. That means the walkthrough covers the roof, gutters, flashing, exterior walls, drainage plane, foundation, and crawl space as one continuous system. In South San Francisco, where the housing stock is old enough that multiple systems are near the end of their service life simultaneously, this system-level view is the difference between maintaining a home and watching it compound problems.
This is also where the value of a single accountable contractor becomes concrete. A homeowner who coordinates three separate vendors for a moisture problem ends up managing the communication, the scheduling, and the finger-pointing. Your renovation shouldn’t require you to become a project manager. The point of hiring a general contractor for maintenance walkthroughs is that one person looks at the whole house and takes responsibility for what they find.
If you’re ready for that level of inspection, the General Contractor in South San Francisco team at Millwright Builders walks properties with this system-level lens. We’ve built our practice around whole-home scope, from structural renovation and roofing to kitchen finishes, hardscape, and ADU additions. That means when we walk your property for maintenance, we’re looking at the full built environment of the home, not checking boxes on a single-trade list.
Common Mistakes to Avoid
- Treating caulking as a cosmetic problem. Caulking is the primary water barrier on a stucco home, and in SSF’s marine air, it fails faster than national guides suggest. Replacing caulk on a three-to-five year cycle is maintenance; replacing rotted framing is reconstruction.
- Assuming a completed seismic retrofit means the job is done. Hardware corrodes, fasteners loosen, and soil settles. The retrofit is only as good as the condition of its components, and those components need an annual check in South San Francisco’s environment.
- Ignoring a damp crawl space because “it’s always been like that.” A crawl space that’s been damp for years has still been causing damage for years. Floor joists don’t rot overnight, but they do rot on a schedule, and that schedule is shorter in SSF’s moisture conditions than in inland climates.
- Replacing a roof without addressing flashing simultaneously. The shingles are rarely the leak point. The flashings are. In South San Francisco, flashings corrode from salt air while the shingles still look fine, and a new roof installed over failing flashings is a missed opportunity and a future leak.
- Waiting for visible damage before investigating moisture. By the time water staining shows up on an interior ceiling or wall, the leak has been active for weeks or months and the framing damage is already underway. Maintenance is about finding the problem before it announces itself.
- Using inland material assumptions for a coastal property. Galvanized hardware, standard caulks, and untreated trim that work in Walnut Creek fail in South San Francisco on a shorter timeline. Material selection has to account for the marine air, or the maintenance cycle shortens accordingly.
When to Call a Professional
Some maintenance items are genuinely homeowner territory—cleaning gutters, testing doors, checking caulking from ground level—and you can find more guides & resources for those tasks on our blog. But when an inspection turns up signs of active moisture, structural movement, or failed hardware, that’s the point to bring in a contractor who can diagnose the full system. Specific scenarios that warrant a call: a crawl space with standing water or saturated soil, visible rust on seismic hardware or retrofit components, cracked or separating chimney masonry, water staining on interior ceilings or walls, and any window or door that has shifted enough to stick or fail to latch. Millwright Builders offers free estimates in South San Francisco. Call (866) 925-0334 to schedule a walkthrough of your property, and we’ll tell you what we find and what actually needs attention, in priority order.
Frequently Asked Questions
A maintenance-focused walkthrough from a general contractor in South San Francisco is typically a free or low-fee service, since the contractor is looking for work that may lead to a project. For guidance on finding the right professional, see our guide on How to Hire a Construction Contractor in South San Francisco: A Step-by-Step Guide. At Millwright Builders, the initial maintenance walkthrough is a free estimate. Call (866) 925-0334 to schedule one.
In South San Francisco’s marine-air environment, exterior caulking and sealants should be inspected every spring and fully replaced every three to five years, depending on wall exposure. West- and north-facing walls degrade faster because they hold morning fog longer. A poorly applied caulk bead over old material looks fine and fails quickly, so this is best left to a professional.
Hidden water intrusion through failed stucco sealant and corroded flashing is the most common and most expensive maintenance problem on older South San Francisco homes. The exterior looks fine from the street, but water is moving behind the stucco or through a flashing joint, and the framing damage compounds silently. That’s why we put sealant replacement and flashing inspection at the top of the SSF-specific maintenance list.
Most South San Francisco homes built before 1970 with raised foundations and cripple walls would benefit from a seismic retrofit, and if one is already in place, it needs an annual hardware check. Homes on slab foundations have different retrofit needs. The best next step is a walkthrough that evaluates the cripple wall condition, sill plate anchoring, and water heater strapping together.
Yes, a homeowner can do a basic crawl space inspection with a good flashlight, a moisture meter, and a willingness to get dirty. The key is doing it at the driest time of year to establish a baseline. If you find standing water, saturated soil, or wood moisture above 20%, bring in a contractor who can diagnose the drainage system as a whole rather than treating the crawl space in isolation.
Salt air deposits chloride particles on metal surfaces, which accelerates oxidation well beyond what inland climates experience. In South San Francisco, this means galvanized flashing, gutter hangers, and exposed fasteners rust through faster, and the sealant joints that protect stucco degrade sooner. The maintenance response is to inspect more frequently and to specify marine-grade materials when replacing anything exposed to the air.
The Bottom Line
South San Francisco homes are not maintained the same way as homes in drier, warmer, or more geologically stable parts of the country. The checklist that works here is organized around four local realities: salt-air corrosion on exposed metal, moisture intrusion through aging stucco and caulking, seismic hardware that degrades over time, and sub-floor moisture from Bay-adjacent fill and clay soils. Most of the expensive problems we see on home remodeling in South San Francisco projects started as small maintenance items that were deferred for five or ten years. The annual checklist is the cheapest insurance a homeowner can buy. If you’d rather have a professional walk the property and tell you what actually needs attention, call Millwright Builders at (866) 925-0334. From the roofline to the back patio, one contractor, one conversation. Start with the free estimate.
Written by the team at Millwright Builders home, serving South San Francisco since 2014.
See the difference
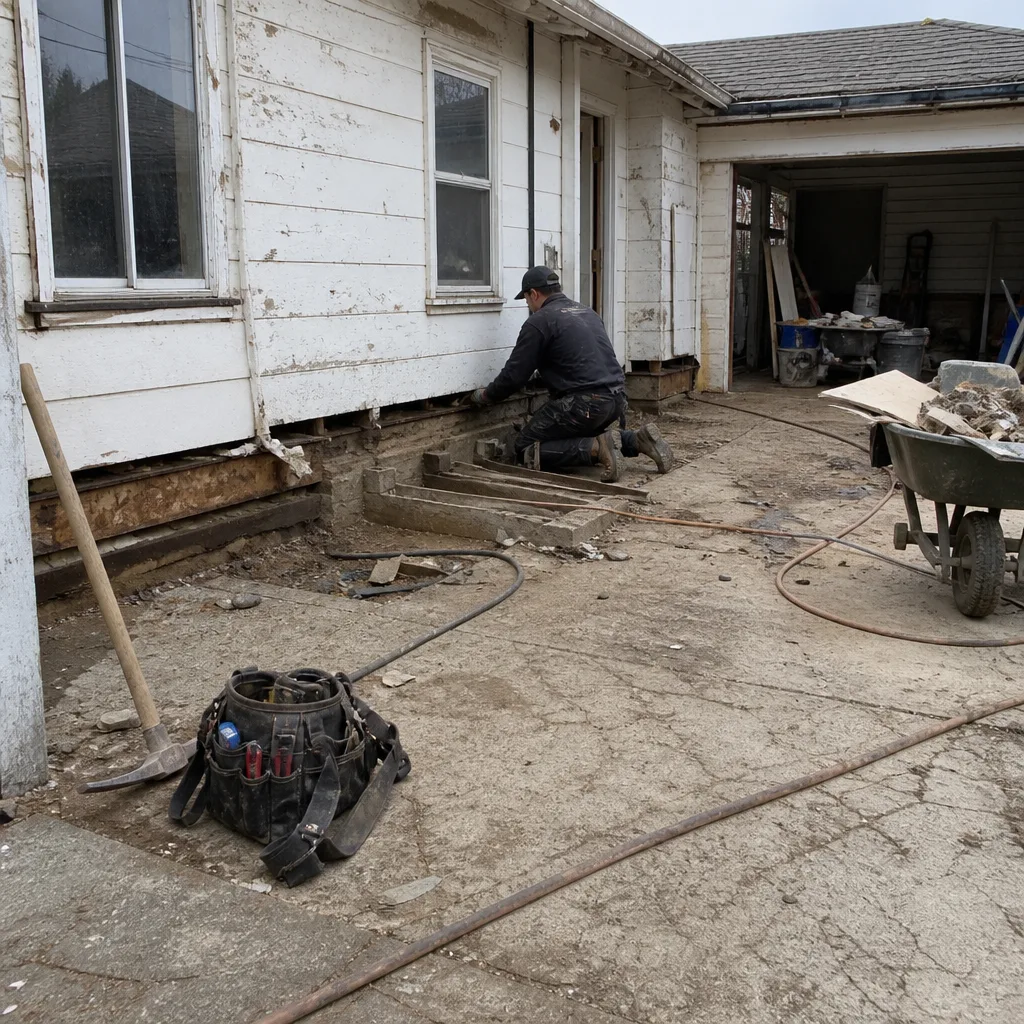 Before
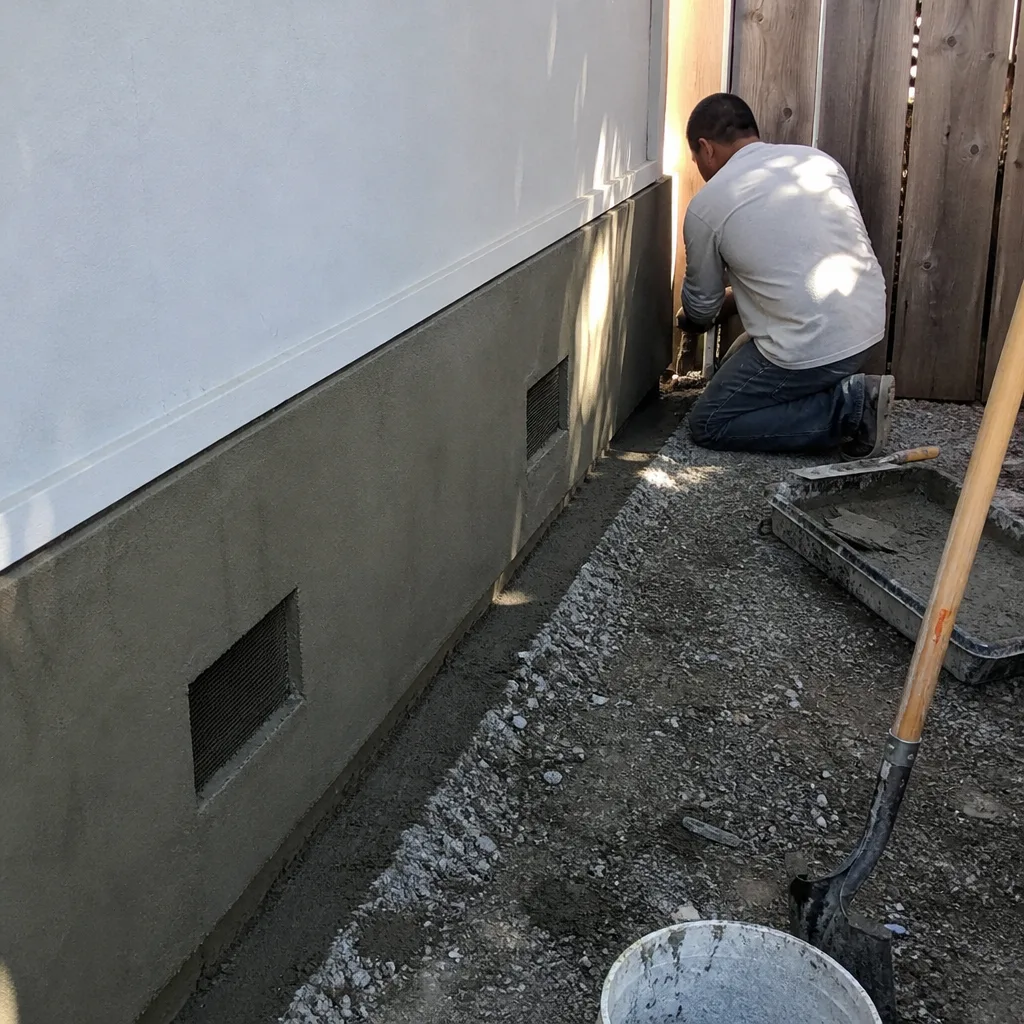 After
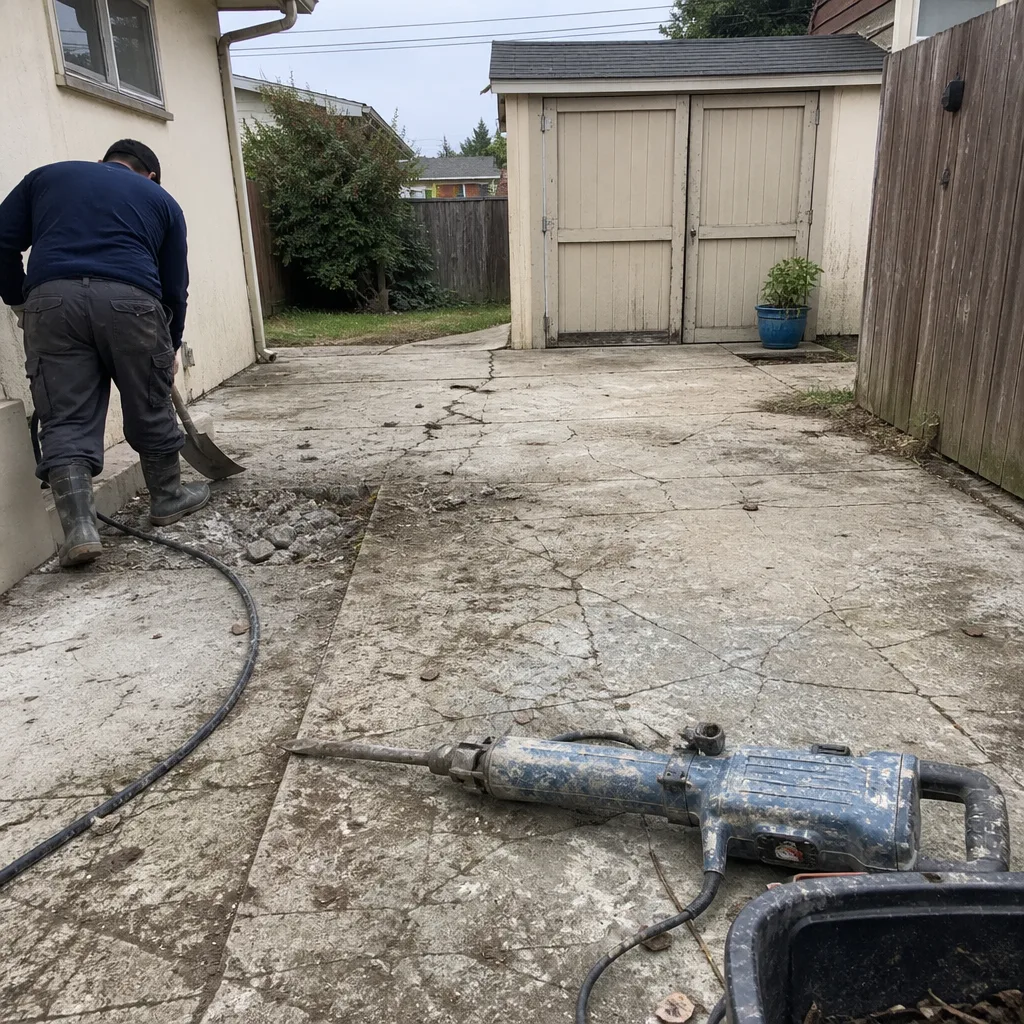 Before
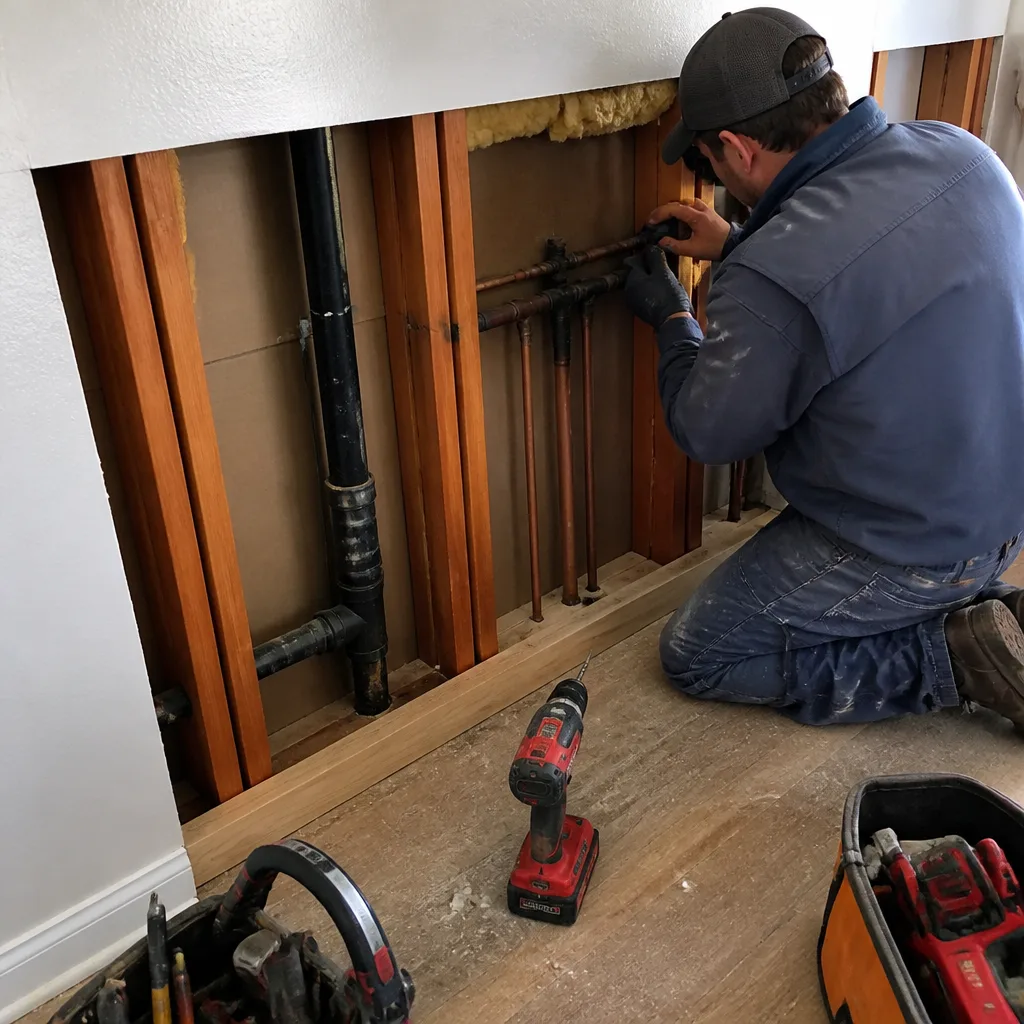 After
 Before
 After