
Last updated October 30, 2026
 Kitchen remodeling
 Bathroom remodeling
 Home additions & ADU
 Roofing
 Windows & doors
 Driveway & pavers
 Fence
Free written scope consultation - allowances, timeline, and change-order rules on paper before a single trade is scheduled
Construction Permits, Codes & Inspections in CA: What You Need to Know
Unpermitted work in California is one of the most common deal-killers in residential real estate transactions. When a sale collapses over a sunroom addition or a remodeled bathroom without a final inspection sign-off, the legal and financial burden falls on the homeowner who owns the property at the time of discovery, not the contractor who originally did the work years earlier. This guide explains how California’s permit system actually functions, what triggers code compliance requirements, and how to plan your project so it adds resale value instead of becoming a disclosed liability. For more guides & resources, see our blog. Whether you’re planning a kitchen remodel in South San Francisco or an ADU addition anywhere in the state, the rules below will save you money, time, and legal exposure.
Styles & brands we work with
Quick Answer
Construction permits in California are legally required for most work that alters a home’s structure, electrical systems, plumbing, or mechanical equipment, and they must be pulled by a licensed contractor or the homeowner before work begins. The permit process involves plan review by your local building department, scheduled inspections at specific phases of work, and a final sign-off that proves the work meets the California Building Code and local amendments. Skipping permits doesn’t save money: it creates financing, insurance, and resale problems that typically cost three to five times more to resolve than the original permit fees would have.
Table of Contents
- Building, Planning, and Fire Permits: Three Different Approval Systems
- Title 24 Energy Compliance: The Hidden Scope Driver
- The Substantial Improvement Threshold and Full Code Upgrades
- The Inspection Sequence for a Typical Renovation
- How to Check Permit Status and Inspection History Before You Buy
- What Open Permits on a Title Report Actually Mean
- What Permits Cost in California and Who Pays for Them
- Common Mistakes to Avoid
- When to Call a Professional
- Frequently Asked Questions
- The Bottom Line
Building, Planning, and Fire Permits: Three Different Approval Systems
Most homeowners think of “the permit” as a single approval, but California actually operates three separate permitting systems that can independently approve or block your project. Understanding the difference changes how you sequence a renovation and who you call first.
Building permits are issued by your city or county building department and cover structural integrity, electrical, plumbing, mechanical systems, and life-safety code compliance. The building official reviews your plans against the California Building Code (CBC), which is updated every three years, plus local amendments adopted by your municipality. In South San Francisco, the Building Division reviews everything from a simple water heater replacement to a full second-story addition.
Planning permits are a separate review by the planning department, which evaluates zoning compliance, setbacks, height limits, lot coverage, design review, and neighborhood compatibility. A project can pass building code review with flying colors and still be rejected because it violates a zoning ordinance or a design guideline. This is especially common with ADUs, second-story additions, and any structure that changes the footprint visible from the street.
Fire permits are issued by the local fire marshal or fire prevention bureau and address access for emergency vehicles, fire sprinkler requirements, defensible space in high-fire-hazard zones, and egress. In areas of California with wildfire exposure, fire permits can require expensive upgrades like ember-resistant vents, Class A roofing, or full sprinkler retrofits that have nothing to do with the building code.
Here’s the practical implication: a project approved by one department can sit in limbo for months because another department has objections. A competent general contractor sequences these approvals in the right order and identifies conflicts early, before you’ve paid for plans that need to be redrawn. See our General Contractor Maintenance Checklist for South San Francisco Homeowners for more on what to expect.
Title 24 Energy Compliance: The Hidden Scope Driver
California’s Title 24 Building Energy Efficiency Standards are the reason a “simple” window replacement or HVAC upgrade can balloon into a more involved project than the homeowner expected. Title 24 sets mandatory energy performance requirements for new construction, additions, and alterations, and it applies to residential work in every city in the state, including home remodeling in South San Francisco.
Here’s how Title 24 affects common renovation decisions:
- Window replacements: When you replace windows in an existing home, the new units must meet current Title 24 U-factor and SHGC (solar heat gain coefficient) requirements. In California’s climate zones, this often means upgrading from single-pane to dual-pane low-E glass, which can force you to replace more windows than you originally planned if matching existing units is no longer available.
- HVAC replacements: Replacing a furnace or air conditioner triggers Title 24 requirements for duct sealing, refrigerant charge verification, and sometimes whole-house fan or ventilation upgrades. A contractor who quotes only the equipment cost is leaving out mandatory compliance work.
- Additions and new square footage: Any new conditioned space must meet current Title 24 standards in full, which includes insulation levels in walls and attics, high-efficacy lighting, and often solar photovoltaic system requirements under the California Energy Code’s solar mandate for new residential construction.
- Kitchen and bath remodels: Even a remodel that doesn’t add square footage can trigger Title 24 lighting requirements. California requires high-efficacy lighting in kitchens and bathrooms when those rooms are remodeled, and occupancy sensors or dimmers are often mandated.
Title 24 compliance is documented through energy modeling software (typically EnergyPro or CBECC-Res) and verified through field inspections by a certified HERS rater. If your contractor doesn’t mention Title 24 when you’re discussing a renovation that touches windows, HVAC, insulation, or lighting, that’s a red flag that they don’t plan to pull permits or don’t understand the compliance obligations.
The Substantial Improvement Threshold and Full Code Upgrades
California building code contains a provision that many homeowners discover too late: the substantial improvement rule. When a renovation project’s cost exceeds 50% of the building’s pre-improvement value, the entire existing structure may be required to be brought up to current code, not just the portion being remodeled.
This is most commonly triggered in older homes, particularly those built before modern seismic, electrical, and plumbing codes were adopted. If your South San Francisco home is worth $800,000 (as a structure, not including land), a $450,000 remodel would push you past the threshold. At that point, the building official may require upgrades like seismic retrofitting, full electrical panel replacement, whole-house smoke detector and carbon monoxide detector installation, and other life-safety improvements that can add $30,000 to $80,000 in scope you didn’t plan for.
How to manage the threshold:
- Phase your project deliberately. If you’re planning a $400,000 renovation on a home with an $800,000 structural value, splitting the work into two phases in separate permit years can keep each phase under the 50% threshold. However, building departments look at cumulative work in many jurisdictions, so this strategy requires careful planning with a contractor who knows local enforcement patterns.
- Get a pre-improvement valuation. A real estate appraisal that separates land value from structure value gives you a defensible baseline. Land value doesn’t count toward the 50% calculation, which is significant in California where land often represents 60-70% of total property value.
- Ask the building department directly. Before you commit to plans, ask the plan reviewer whether your project scope triggers substantial improvement requirements. Getting this in writing protects you from mid-project scope creep.
At Millwright Builders home, we’ve seen substantial improvement requirements reshape renovation budgets more than any other single code provision. The homeowners who plan for it are the ones who keep their projects on schedule and on budget.
The Inspection Sequence for a Typical Renovation
Permit inspections happen at specific phases of work, and each phase must pass before the next one can begin. Skipping an inspection or closing up walls before the inspector has signed off means tearing out work later, at your expense. Here’s the standard sequence for a typical residential renovation in California:
- Foundation inspection: Before concrete is poured, the inspector verifies footing depth, rebar placement, hold-down bolts, and any seismic requirements. For additions, this includes checking the connection between new and existing foundation.
- Rough framing inspection: The inspector checks structural framing, shear walls, roof connections, and any engineered details. This happens before insulation goes in, while all the structure is visible.
- Rough electrical inspection: All wiring, boxes, and conduit must be in place with splices made, but before devices (outlets, switches, fixtures) are installed. The inspector verifies wire size, circuit loading, and grounding.
- Rough plumbing inspection: All supply lines, drain lines, vent lines, and rough valve bodies must be in place. The inspector may require a water test or air test on the system to verify no leaks.
- Rough mechanical inspection: HVAC ductwork, flues, gas lines, and exhaust ventilation are checked. Title 24 compliance items like duct sealing and proper sizing are verified here.
- Insulation inspection: Before drywall goes up, the inspector verifies insulation type, R-value, and proper installation in walls, floors, and ceilings. This is a common failure point for DIY projects that use the wrong insulation grade for the climate zone.
- Drywall inspection: In some jurisdictions, screws and nail patterns are checked before taping. This is more common in commercial work and fire-rated assemblies but can apply to residential projects with attached garages.
- Final inspection: After all finishes are installed, the inspector verifies that every system functions, all required devices (smoke detectors, CO detectors, GFCI outlets) are in place, and the work matches the approved plans. A final sign-off is what closes the permit.
What happens when a contractor skips a phase? The most common scenario is closing up walls before the rough electrical or plumbing inspection. The inspector can require the work to be opened back up, which means drywall removal, insulation removal, and re-inspection at the homeowner’s expense. In some cases, the building department can issue a stop-work order on the entire project until the inspection issue is resolved.
How to Check Permit Status and Inspection History Before You Buy
Before you buy a home in California, you should check its permit history. This is public information, and any buyer can access it. Here’s the process:
- Contact the local building department. In South San Francisco, the Building Division maintains permit records for every address in the city. Most jurisdictions have an online permit portal where you can search by address. If not, a phone call or in-person visit to the building counter will get you the records.
- Request the full permit history. Ask for every permit ever issued on the property, including open permits, closed permits, expired permits, and inspections. Some jurisdictions charge a records fee, but it’s typically under $100 and worth every dollar.
- Compare the permit history to the physical structure. If the permit history shows a 1,200-square-foot house and the property you’re looking at has a finished basement and a converted garage, that’s a red flag. Unpermitted square footage won’t be reflected in the county assessor’s records either, which means the seller may be misrepresenting the home’s legal square footage.
- Check for expired permits. An expired permit means work started, an inspection or two may have passed, but the final inspection never happened. This is the most common open-permit scenario, and it means the work is not legally complete.
- Review inspection history for failures. If a permit shows failed inspections followed by reinspection, that’s not necessarily a problem, but it’s worth understanding what failed and whether it was corrected. Persistent failed inspections can signal workmanship problems that were papered over.
For buyers considering home renovation in South San Francisco after purchase, this due diligence matters more, not less. An unpermitted addition might have been priced into the sale, but the cost of bringing it up to code is now yours.
What Open Permits on a Title Report Actually Mean
An open permit on a title report means one thing: the building department issued a permit for work, and the permit was never closed with a final inspection. It does not necessarily mean the work is unsafe. It means the work is legally incomplete.
Here’s what an open permit situation means in practice:
- The seller is responsible until closing. In most California purchase contracts, the seller is required to close open permits before the sale closes or negotiate a credit to the buyer for the cost of doing so. However, this requirement is only as enforceable as the buyer’s willingness to push the issue during escrow.
- Title insurance typically excludes open permits. Standard title insurance policies cover defects in title, but they specifically exclude building code violations and open permits. Your title insurance will not pay to resolve an unpermitted addition discovered after closing.
- Lenders may refuse to fund. If an appraiser notes unpermitted square footage or a title report reveals open permits, the lender can condition the loan on resolution or deny it entirely. This is a common deal-killer in California real estate transactions.
- Resolving an open permit years later is harder. If the original contractor is out of business, died, or simply won’t return your calls, you may need to hire a new contractor to open up walls, verify the work, and pull a new permit to close the old one. This can cost five figures, and the homeowner bears the cost, not the original contractor.
If you’re considering buying a home with open permits in South San Francisco or anywhere in San Mateo County, get a written estimate from a licensed General Contractor in South San Francisco for the cost of closing those permits before you commit to the purchase. That number belongs in your offer or in your negotiation.
What Permits Cost in California and Who Pays for Them
California permit fees vary significantly by jurisdiction, but here are realistic ranges based on what we see in the Bay Area market:
| Project Type | Typical Permit Fee Range | Typical Timeline |
|---|---|---|
| Water heater replacement | $75 – $200 | Same-day or 1 – 2 days |
| Window replacement (no structural change) | $150 – $500 | 1 – 2 weeks |
| Bathroom remodel (no layout change) | $400 – $1,200 | 2 – 4 weeks |
| Kitchen remodel (some structural) | $800 – $2,500 | 3 – 6 weeks |
| Addition (400 – 800 sq ft) | $3,000 – $8,000 | 3 – 6 months |
| ADU (detached, new construction) | $5,000 – $15,000 | 4 – 8 months |
| Roof replacement | $300 – $800 | 1 – 3 weeks |
These ranges include plan review, permit issuance, and inspection fees. They do not include plan preparation fees from an architect or engineer, energy compliance documentation (Title 24), school impact fees for additions, or any city-specific development impact fees. In California, many cities also charge a green building fee and a seismic retrofit fee on top of the base permit costs.
Who pays for the permit? In standard contractor agreements, the contractor pulls the permit and pays the fees upfront, then passes the cost through to the homeowner as a line item. Some homeowners prefer to pull their own permits as owner-builders to save the contractor markup, but this has significant implications: owner-builders assume legal liability for the work, cannot hire unlicensed workers, and may face restrictions on selling or renting the property within a certain period after completion.
Common Mistakes to Avoid
- Believing “the contractor will handle it” without verification. Verbal promises don’t hold up. Ask to see the approved permit card posted on site before work begins, and verify the permit number with the building department. In South San Francisco, you can verify permits online in minutes.
- Paying in full before the final inspection. A contractor who wants payment before the building department signs off has no incentive to complete the permit process. Structure payment schedules so the final payment is contingent on the final inspection passing.
- Assuming a “cosmetic” remodel doesn’t need permits. Paint, flooring, countertops, and cabinet replacement don’t typically require permits, but the moment you move a sink, add a circuit, or open a wall, you’ve entered permit territory. The line between cosmetic and structural is not always obvious to a homeowner.
- Ignoring expired permits from a previous renovation. An expired permit on a property you already own is a ticking liability. It will surface when you try to sell, refinance, or pull a new permit for additional work. Close it voluntarily now, before a transaction forces the issue.
- Choosing a contractor based on price alone. The low bid often reflects the cost of skipping permits, insurance, or worker protections. When the permit fees, inspection costs, and compliance work are added back in, the “cheap” bid is usually more expensive. A licensed contractor’s bid includes the real cost of doing the job legally.
- Failing to check contractor licensure. California requires any contractor performing work over $500 in labor and materials to hold a state contractor’s license. Verify the license number at the Contractors State License Board website and confirm it’s active, with no disciplinary actions.
- Underestimating plan review time. In many California cities, plan review for a significant remodel takes 4 to 12 weeks. Homeowners who don’t account for this in their timeline end up making rushed decisions or paying for change orders when plans get kicked back for revisions.
When to Call a Professional
Some permit situations are manageable for a diligent homeowner. A water heater replacement with a same-day permit from the building counter? That’s doable. But the moment your project involves structural changes, fire-rated assemblies, Title 24 energy compliance, or coordination across multiple trades, the cost of a mistake outweighs any savings from going it alone.
We regularly see homeowners in South San Francisco who started as owner-builders and called us after the building department rejected their plans twice or issued a stop-work order. By that point, they’ve spent months and thousands of dollars with nothing to show for it. A licensed general contractor who has pulled permits in your specific jurisdiction knows the plan reviewers, knows what gets flagged, and knows how to write plans that pass the first time.
Millwright Builders offers free estimates in South San Francisco. If you’re planning a remodel, addition, or ADU and want a realistic picture of the permit path ahead, call (866) 925-0334 and we’ll walk you through it.
Frequently Asked Questions
Yes, if your kitchen remodel involves moving plumbing, adding or relocating electrical circuits, altering walls, or changing the room’s footprint, a permit is required. A cabinet swap or countertop replacement with no changes to plumbing or electrical can typically be done without a permit. In South San Francisco, the Building Division can confirm whether your specific scope requires a permit. Call (866) 925-0334 for help determining your project’s permit requirements.
Simple permits like water heater replacements are issued same-day, while a full kitchen remodel typically takes 3 to 6 weeks for plan review and approval. Additions and ADUs can take 3 to 6 months depending on the jurisdiction’s workload and the number of plan review cycles required. Working with a contractor who knows your local building department can shorten this timeline significantly because the plans are written correctly the first time.
You must disclose unpermitted work to buyers under California law, and buyers can use the disclosure to negotiate a lower price or demand the work be permitted and inspected before closing. Unpermitted square footage cannot be included in the legal square footage of the listing, which often means the home appraises lower than it should. The cost of resolving unpermitted work at the point of sale is typically far higher than the original permit fees would have been.
Yes, California allows owner-builders to pull permits for work on their own residence, but you assume full legal liability for the work, cannot hire unlicensed workers, and may face restrictions on selling or renting the property within a year of completion. If you have no construction experience, an owner-builder permit is a high-risk way to save a few hundred dollars in contractor permit markup.
A permit is the legal authorization to perform work. An inspection is the verification that the work meets code. You can have a permit without any inspections having happened yet, and you can have an inspection without a permit, but neither state matters unless the building department’s records show a permit with a final inspection sign-off. A permit is “closed” only when the final inspection passes and the building department marks it complete.
Yes, roof replacements require a permit in South San Francisco and most California cities. The permit ensures the new roof meets current fire rating requirements and Title 24 cool roof standards where applicable. Some roof coatings and repairs under a certain square footage may qualify for an exemption, but a full tear-off and replacement always requires a permit and a final inspection.
The Bottom Line
California’s permit system is dense, overlapping, and easy to misunderstand, but it exists to protect the homeowner. A properly permitted project means the work was reviewed before construction, inspected during construction, and verified after completion. That paper trail is what makes your renovation an asset when you sell and what protects you from liability if something goes wrong. The homeowner who treats permits as an obstacle to work around ends up paying for it twice: once for the original work and again to legalize it. The homeowner who treats permits as part of the project plan from day one stays in control of the timeline, the budget, and the outcome.
Written by the team at Millwright Builders, serving South San Francisco since 2014.
See the difference
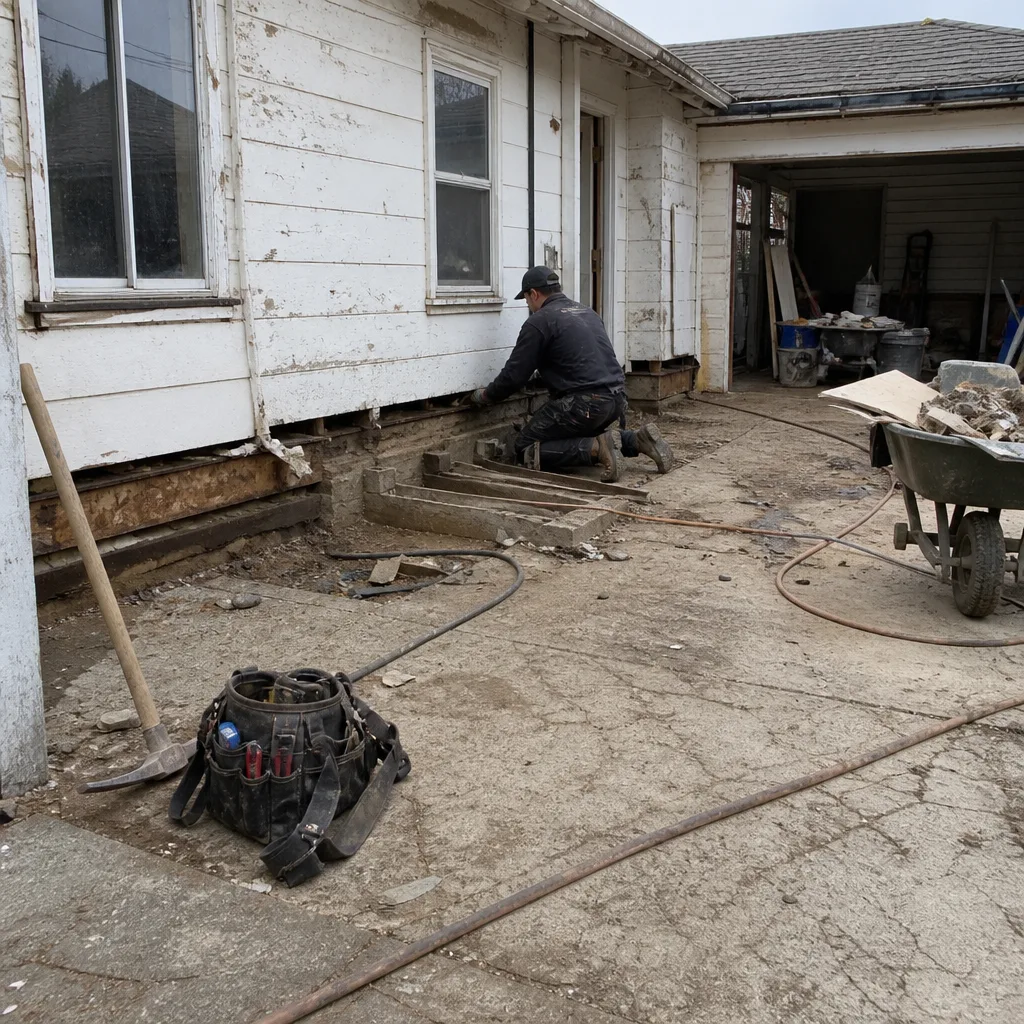 Before
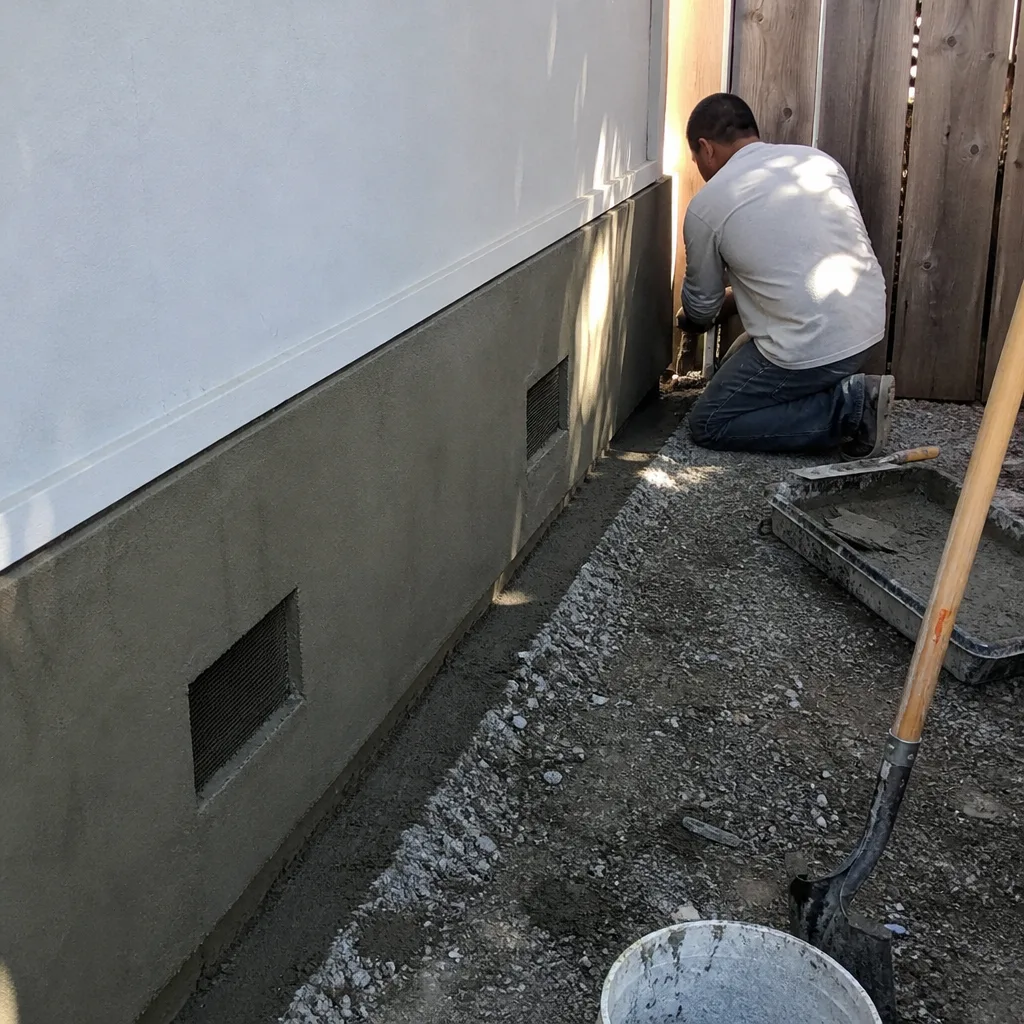 After
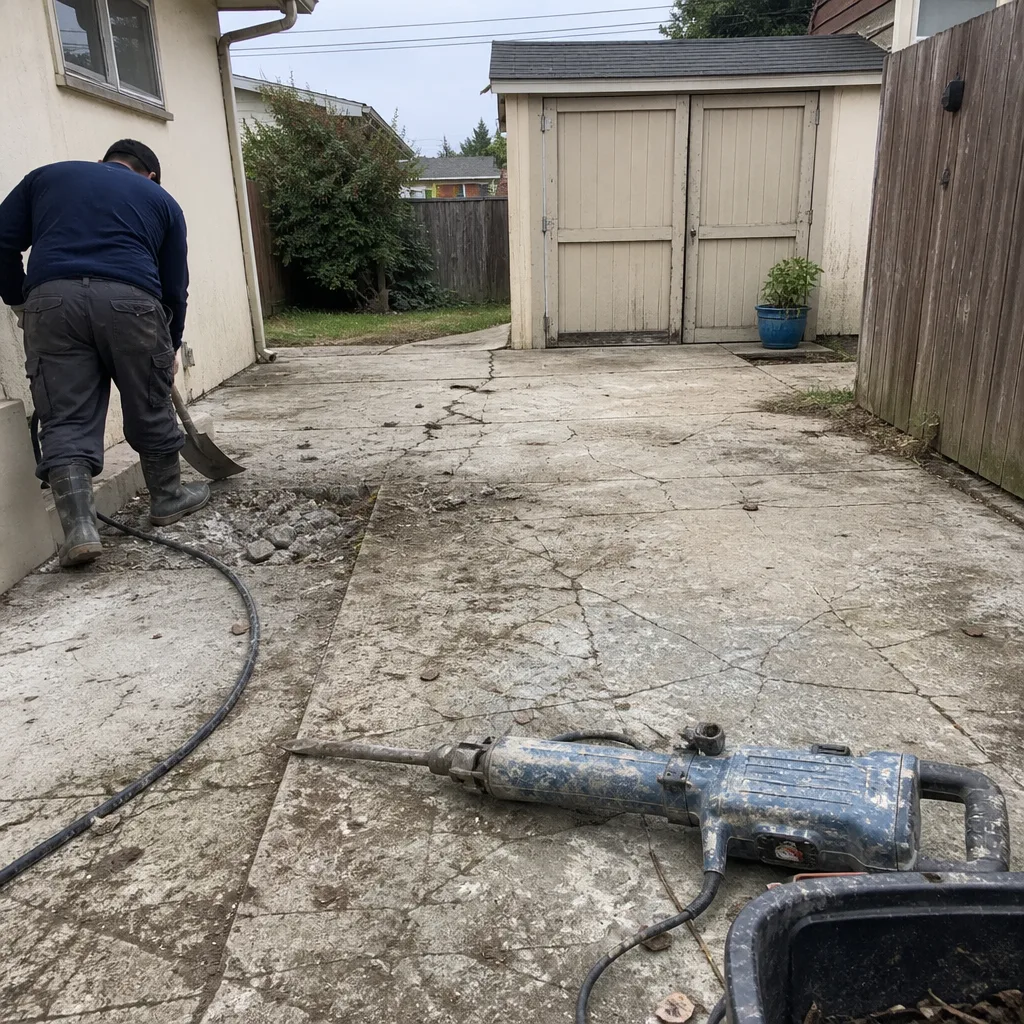 Before
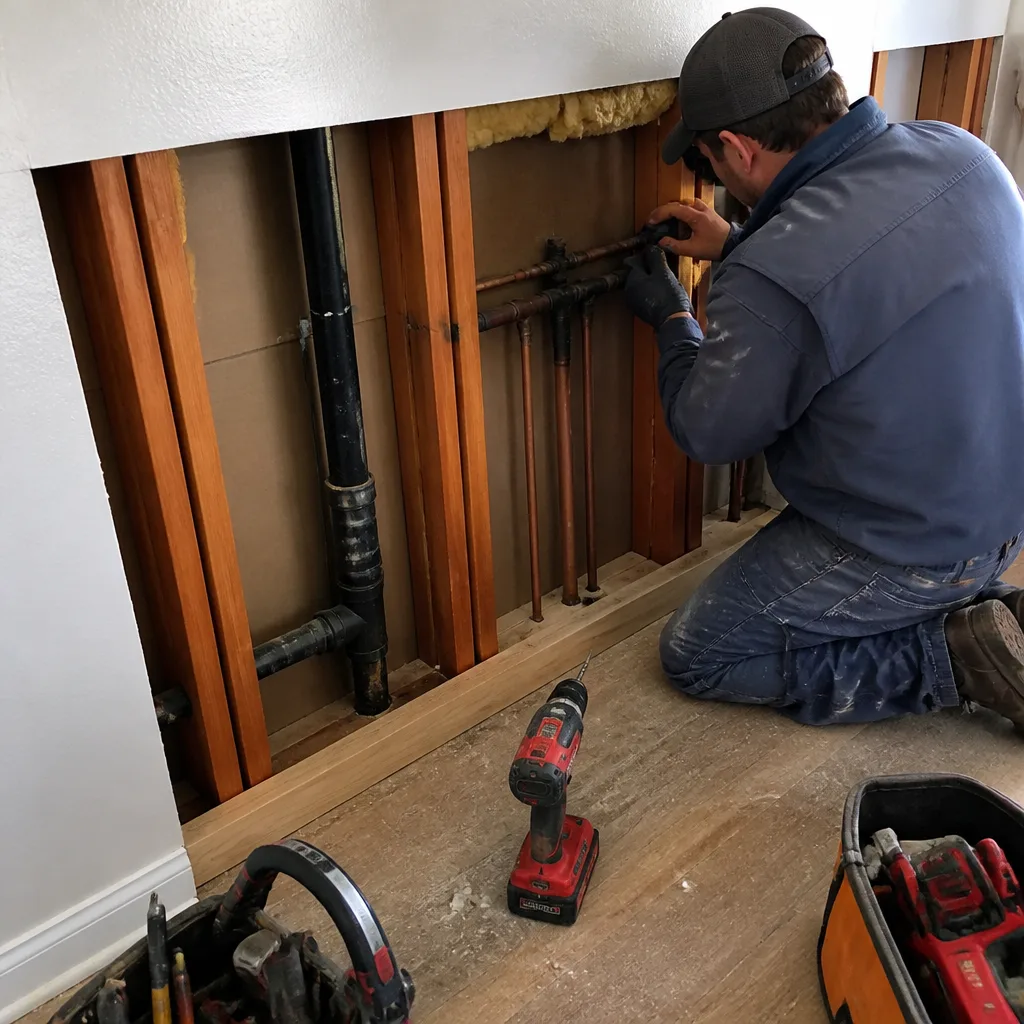 After
 Before
 After